
BUILD gives you WordPress and Elementor Free prepared as a starting environment for R99/month. That removes some initial setup work, but it is not a finished business website. You decide what the site says, how its pages look and how it will be maintained.
This guide follows the work from preparation to launch. It is a planning and building guide rather than a promise that every dashboard will look identical: themes, plugins and software versions can change the controls you see. Keep your domain and account information available, and use official documentation for version-specific details.
Understand the parts you will use
WordPress manages website content and users. A theme supplies a design framework. Plugins add selected functions, and Elementor Free provides visual page-building tools. Your hosting account supplies the environment in which these pieces run.
cPanel is separate from the WordPress dashboard. Use cPanel hosting tools for account tasks such as files, databases and mailboxes; use WordPress for pages and site content. Knowing which tool controls a task avoids changing hosting settings when you only meant to edit a page. The WordPress hosting page describes the current BUILD package.
Confirm your domain and starting environment
Choose the domain that will identify the site. If you need a new name, review domain registration and the current charges. If the name already handles email or a live website, discuss its connection before changing nameservers or other DNS records.
Confirm that the prepared WordPress environment is available and that you can sign in using the supplied account pathway. Record the correct dashboard URL in a secure place. Use a strong, unique password and do not share your main administrator login casually. A person who only edits content may not need administrator permissions.

For a .co.za business website, cPanel manages the hosting environment while WordPress manages the website content. Conceptual illustration, not a dashboard screenshot.
Plan the page structure before the theme
Write a list of the pages your customer needs, then put them in a sensible order. For a service business, that may be Home, Services, About and Contact, with separate service pages only when they contain useful detail. An empty page for every idea makes navigation harder without helping visitors.
Create a short outline for each page: its purpose, heading, essential facts and next action. Gather the text and images before trying to perfect the design. This makes it easier to choose a theme that suits the actual content rather than rewriting your business around a demonstration layout.
Choose a theme that fits your workflow
Check that the theme is maintained and compatible with the WordPress and Elementor versions you intend to use. Read its documentation and distinguish included features from paid upgrades. A screenshot of a demonstration site may show premium components that are not part of your installation.
WordPress themes can use different approaches to navigation and site-wide editing. Do not assume instructions for one theme will apply to another. Try a small set of representative pages before committing to extensive customisation. Keep a record of theme settings, and avoid editing production theme files directly when you do not have a safe recovery method.
Build pages with Elementor Free
Start with one ordinary page. Add a clear heading, useful body text, an image where it helps and a button with a specific destination. Work with consistent spacing and a limited set of colours and fonts. Reuse the same visual rules across the site so every page feels related.
Elementor Free does not include all paid Elementor features. In particular, do not assume a tutorial using Pro's Theme Builder, form tools or WooCommerce templates will work unchanged. Check the publisher's Free and Pro comparison before planning around a particular feature. Choose a different supported approach or budget separately when the site needs something outside Free.
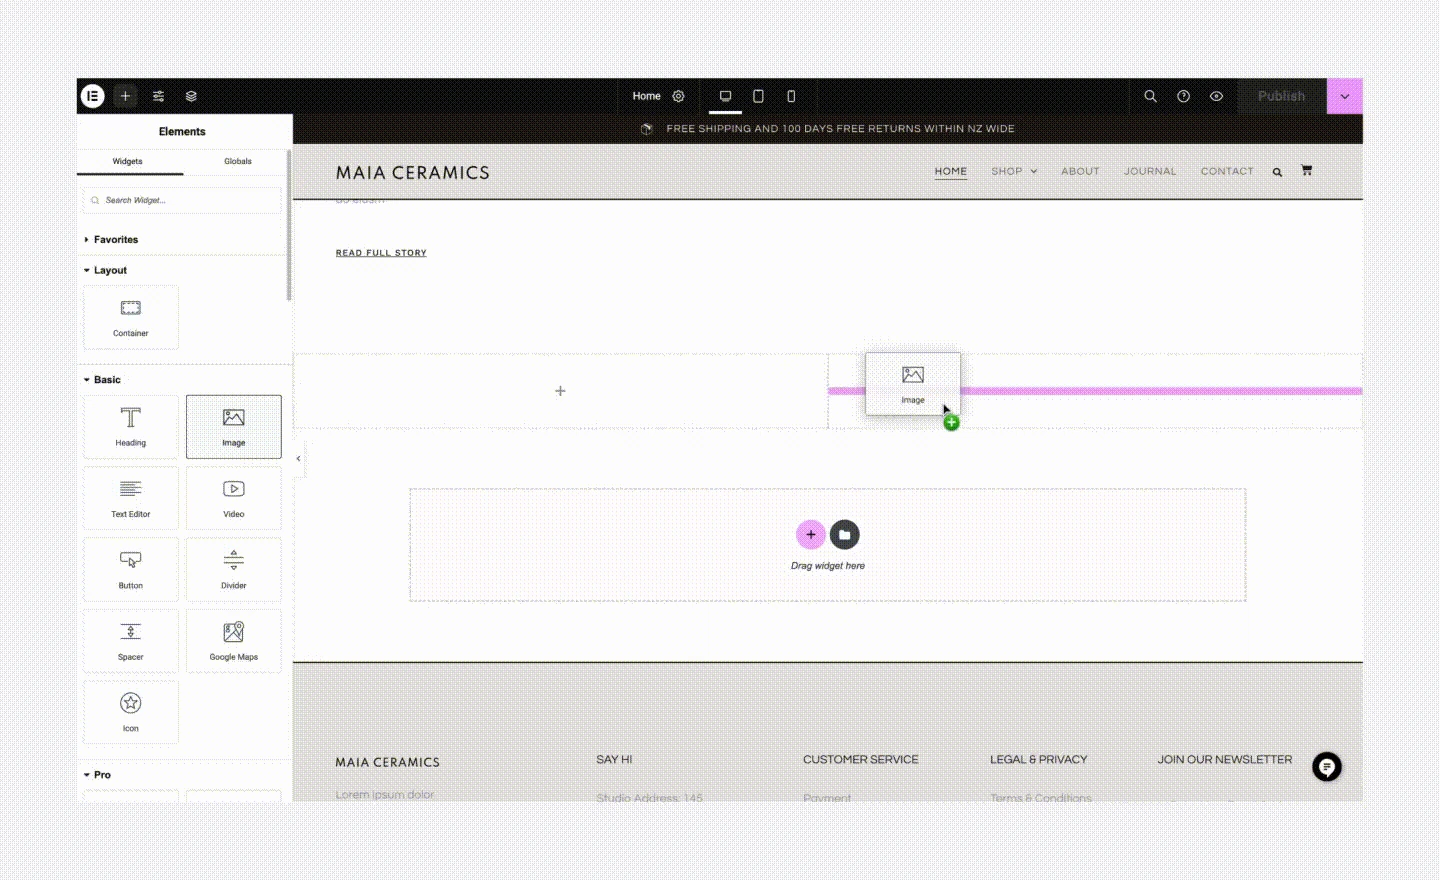
The publisher example shows the Image widget being dragged onto the page. For your South African business, replace sample content with your own services and photographs. Editor appearance can vary.
Publisher’s guide — opens in a new tab ↗Create navigation that visitors can understand
Keep primary navigation focused on the tasks people came to complete. “Services” or a clear service name is usually more helpful than a vague label. Check the menu on mobile and make sure every published page has an appropriate route back to the rest of the site.
Set the intended homepage and review the site's URL structure early. Changing URLs after the site has been shared can require additional planning. Preview pages while logged out as well as logged in: an administrator may see content or controls that an ordinary visitor cannot access.
Prepare images and the contact page
Use photographs you own or have permission to use. Crop and resize them for their purpose instead of uploading a huge file for a small thumbnail. Write useful alternative text for meaningful images and avoid repeating a filename as the description. Check that a crop still makes sense on a phone.
The Contact page should display accurate contact details and explain what someone should send with an enquiry. If you add a form plugin, configure its destination and test delivery. Use professional email for business correspondence. A successful form animation does not prove that the message arrived in the mailbox.
Choose plugins for specific needs
Make a list of required functions before installing plugins. A contact form, a backup method or another clearly defined requirement is a better starting point than adding every recommended plugin in a tutorial. Check compatibility, maintenance and any licence costs.
Avoid several plugins that try to perform the same job without a reason. They can complicate settings and troubleshooting. Test a new plugin on a safe copy where practical, and keep a backup before changes. The WordPress plugin management documentation explains the general installation and update workflow.
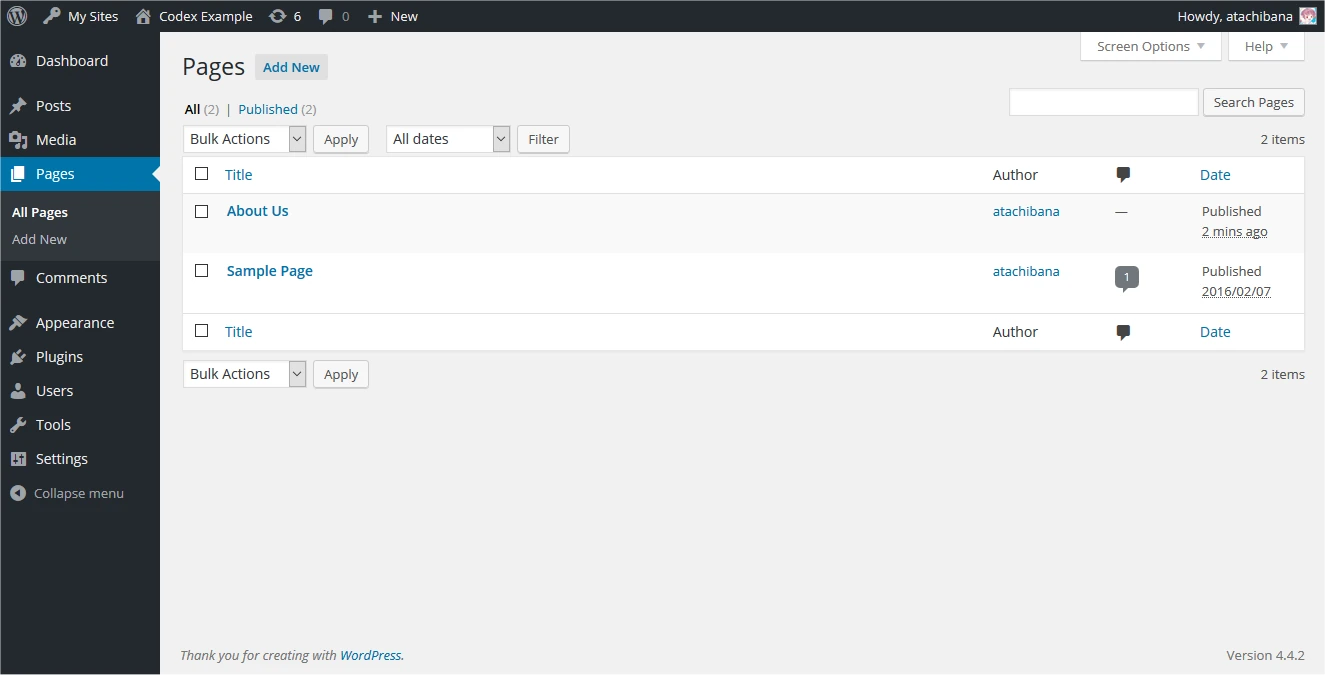
Use Pages to organise your Home, Services, About and Contact content. This is publisher demonstration content, not a WH4SA customer website.
Publisher’s guide — opens in a new tab ↗Arrange updates, security and recovery
Keep WordPress core, themes and plugins current. Decide who will receive update notices and who will check the site after a change. Automatic updates can reduce manual work, but the site still needs backups and functional checks. Updates may affect forms, layouts or integrations even when the process reports success.
Keep recoverable copies of both files and the database. Confirm how a restore would be performed and where a copy is stored outside the same account. Hosting backups are an additional recovery measure; they do not remove your responsibility for important business information. See the WordPress maintenance checklist for an ongoing routine.
Use a launch checklist
- Check every menu item, button and important internal link.
- Review page titles, headings, contact details and placeholder text.
- Test layouts at desktop and mobile widths.
- Submit each form and confirm receipt and reply handling.
- Confirm HTTPS and investigate mixed-content or certificate warnings.
- Verify that intended public pages are not left in a private or discouraged-indexing state.
- Keep a recent backup and record the people responsible for maintenance.
Launch when the essential customer journey works. You can continue improving content afterwards, but keep changes controlled and test the tasks that matter to your business each time.